CSIO My Proof of Insurance: eSlips and eDelivery User Guide for Power Broker
The CSIO My Proof of Insurance eDelivery solution enables users to send digital auto liability cards (eSlips) and policy documents to customers. All Power Broker users will be entitled to utilize the CSIO My Proof of Insurance eSLIPs and eDelivery options, provided they have
- A) Our CSIO Upload / Download, and
- B) Our Scanning / Image Attachment / PDF Generator option
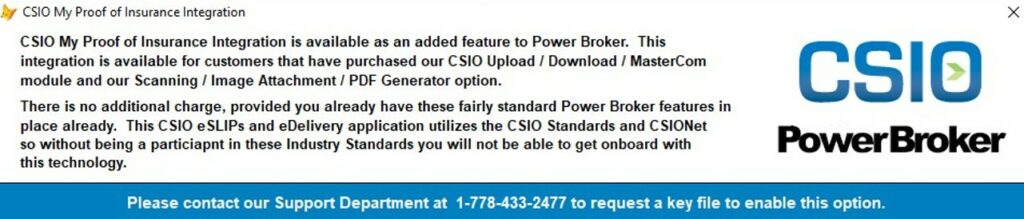
Additionally they need to contact our office and request a revision to their key file to enable the CSIO My Proof of Insurance eSLIPs and eDelivery options. We want to keep track of which brokers are using this option for a variety of reasons. If a brokerage attempts to perform any of the tasks related to CSIO My Proof of Insurance and they do not have the required elements turned on in their key file, the following message will be displayed:
They will also want to contact CSIO to setup their eDelivery account. CSIO will give you a temporary password and the information required to set up your CSIO eSlip/eDelivery account.
Once this information is provided, you will enter this into your Power Broker Utilities – Define your Company Information – Integrations 5 Screen:
*Copy these two links into the top two boxes as you see in the image*
“https://web.myproofofinsurance.ca/api/integration/login”
“https://web.myproofofinsurance.ca/api/integration/eslip”
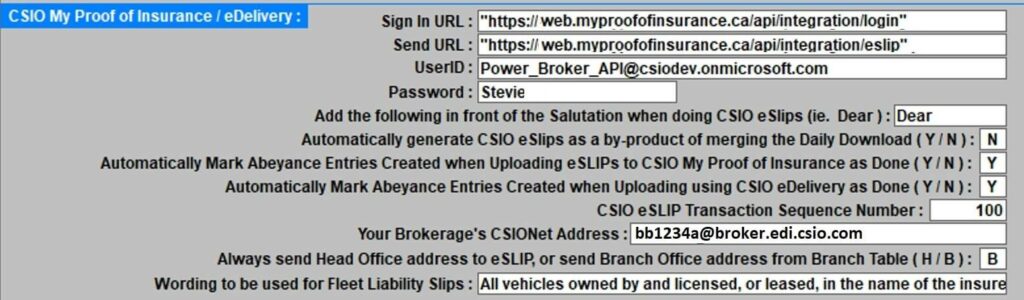
The following questions will need to be answered (Y/N). Your CSIO Transaction Sequence number will start at number 1 and increase automatically. The wording to be used for your Fleet Liability Slips will also need to be entered, any modifications to this ‘Blurb’ over time will be edited in this window.
eSlips can be sent at the policy level or at the vehicle level. When sent at the policy level an eSlip will be sent for every vehicle on the policy. When sent at the vehicle level, an eSlip will be sent only for the current highlighted vehicle. For an eSlip to be sent, the customer’s email address must be present on the main customer screen. Additionally the name and address of the Insurance Company must be properly filled in on the Insurance Company Table for the Insurance Company listed on the Policy Screen (explained further down for setup).
SENDING eSLIPS:
Sending eSLIPs for all vehicles on a Policy
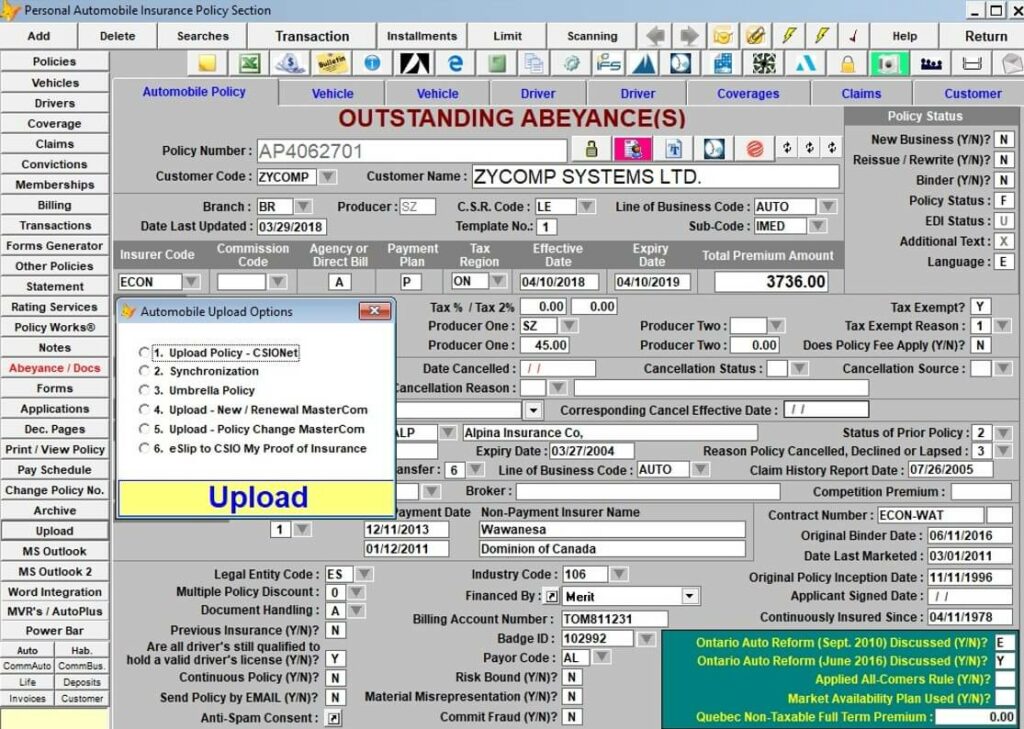
Click on the <Upload> button, and then select 6 – eSLIP to CSIO My Proof of Insurance
If there are vehicles recorded against this policy and the customer’s email address is recorded, then the next screen displays:
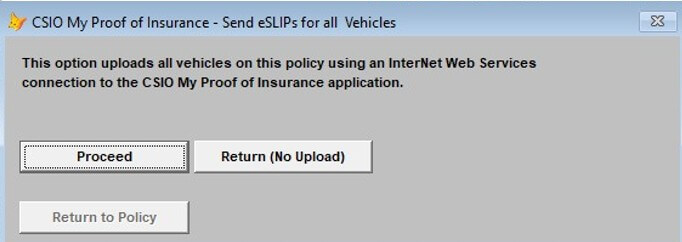
Click on <Proceed> to send the eSLIPs to CSIO My Proof of Insurance or click on <Return> to do nothing.
Once eSLIPs are sent the <Return to Policy> button will light up, and the user must click on this to continue, and what is actually happening is that we are restoring their policy session so they are back to where they started.
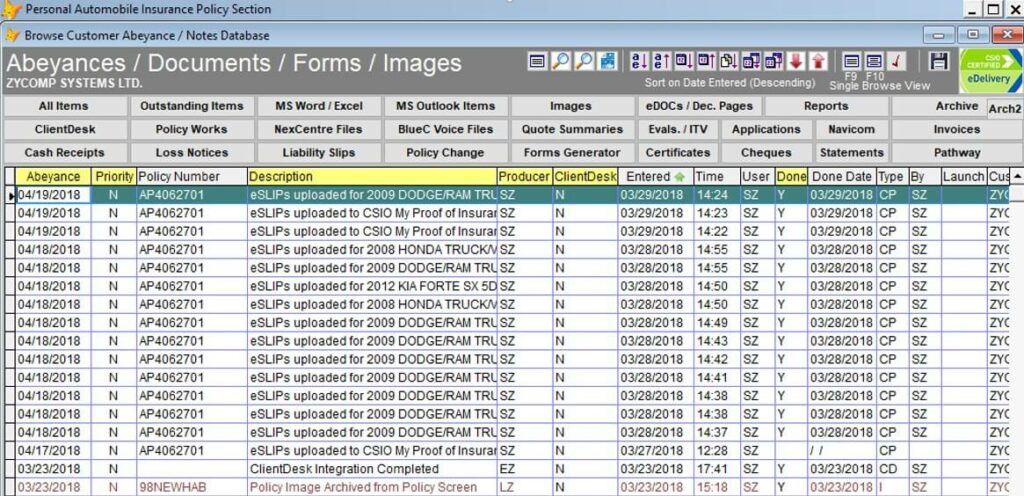
Every time an eSLIP is sent it is recorded in the customer’s abeyance / documents database as shown below, with the abeyance/note type CP.
You can see there have been plenty of eSLIPs sent from this policy in testing.
Additionally you can choose whether or not to automatically make eSLIPs as being done, with Today’s Done Date, with a setting on the Integrations 5 tab of Define your Company Information.
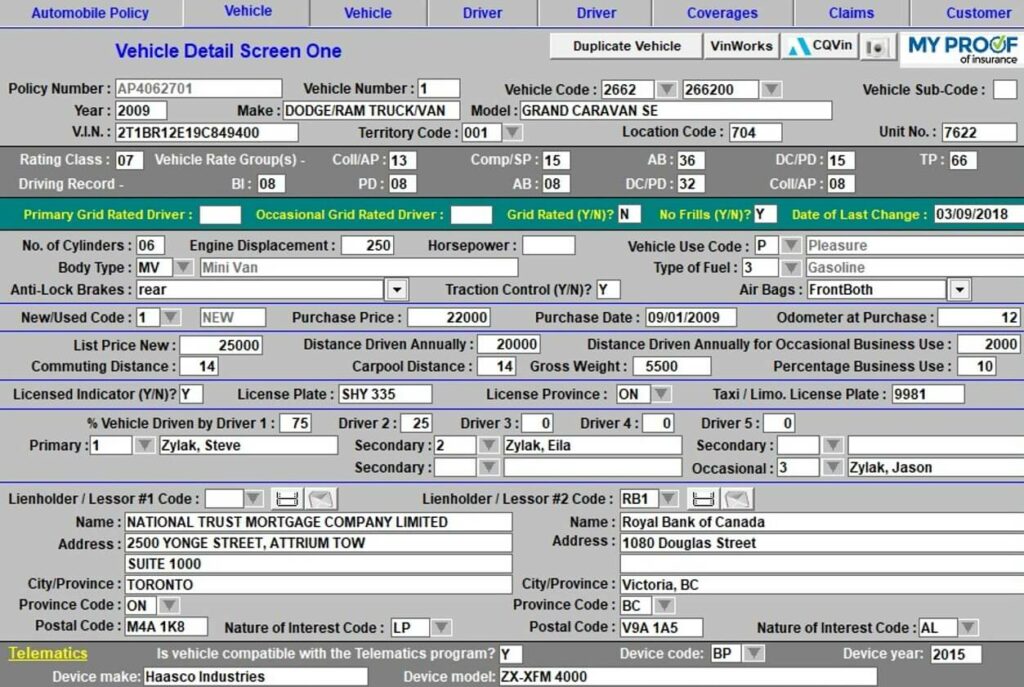
Sending an eSLIP for one vehicle is very similar with the exception that it is done from the vehicle screen of the vehicle that you want to send an eSLIP for. Again the customer’s email addresses must be on file. Click the My Proof of Insurance button in the top right of the screen.
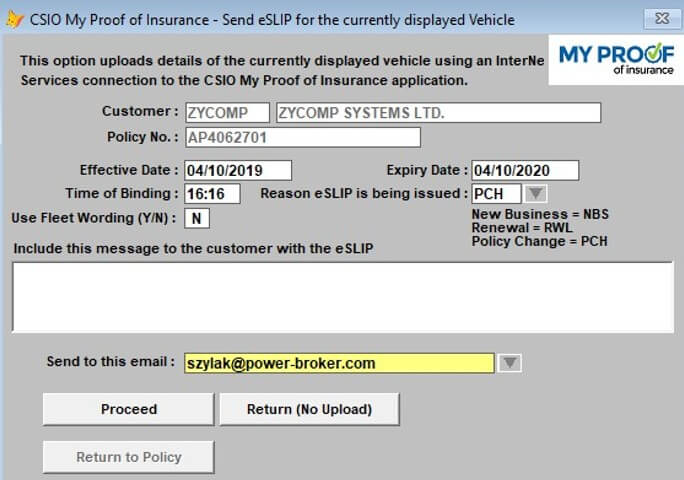
The screen below appears and the wording refers to the currently displayed vehicle rather than all vehicles on the policy. You can include the pre-defined fleet wording, or write your own in the below text field. A reason for upload also needs to be defined, use a < . Enter> to bring up the pre-defined codes for reasons why.
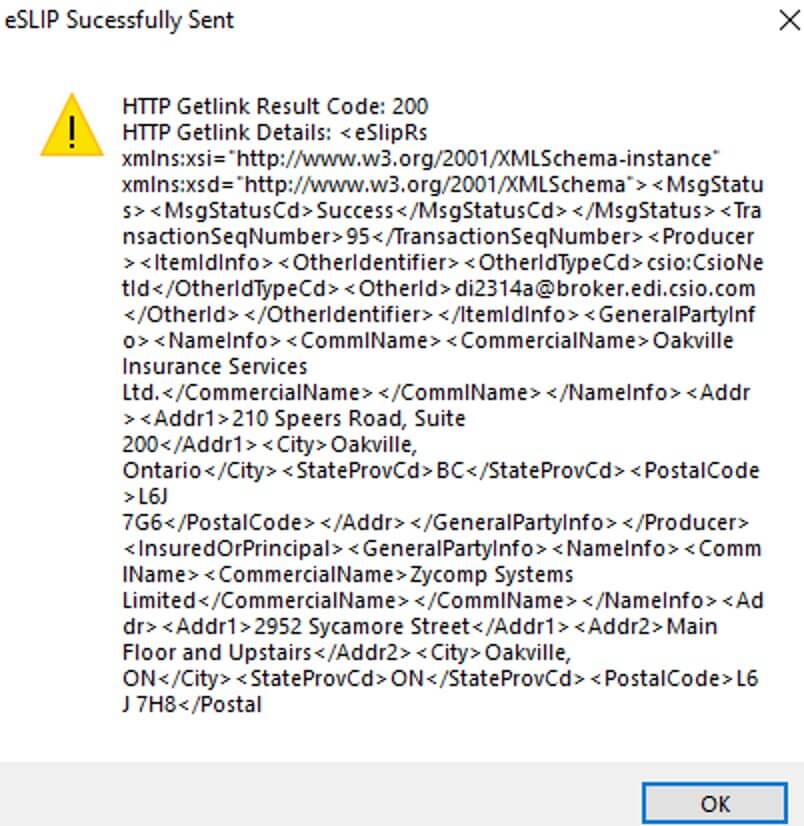
Whenever an eSLIP is sent, it will be sent in real time. You are prompted with the following window notifying you it was successfully sent:
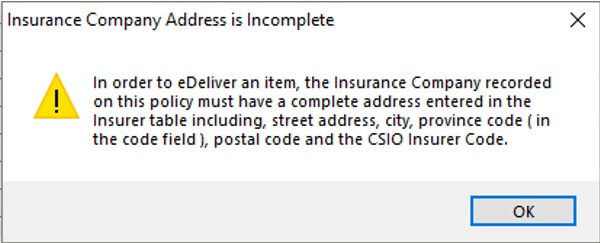
As for eDelivery, if you want to send a single file you can go to the abeyance screen on a customer or policy file. You will see the ‘CSIO Certified eDelivery’ button in the top right corner on the screen. You must be highlighted on an abeyance that has an accepted attachment and also that the Insurance Company selected for that policy has all the needed information filled out on the Insurance Company table as well as the CSIO Insurance Company Table. If you do not you will get these messages:


See underlined sections of Insurance Company Table that must be filled in:
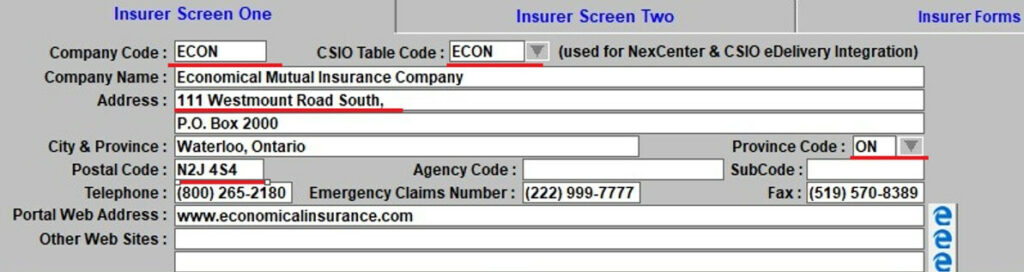
Users will also want to make sure that they have the Insurance Company as specified on the Policy screen listed on the CSIO Insurance Company Table found under the Tables tab.
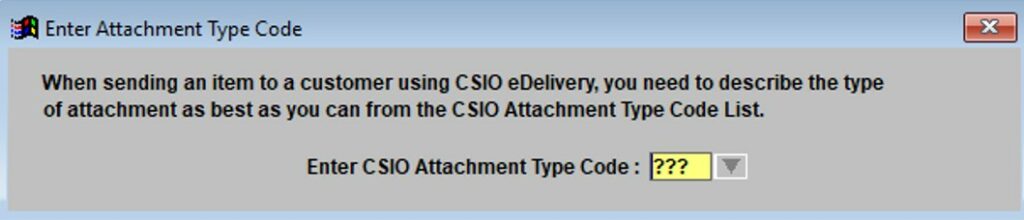
When sending the abeyance, Power Broker will then prompt you to enter the most related CSIO Attachment Type Code.
Press Enter to see full list of CSIO Codes Table:
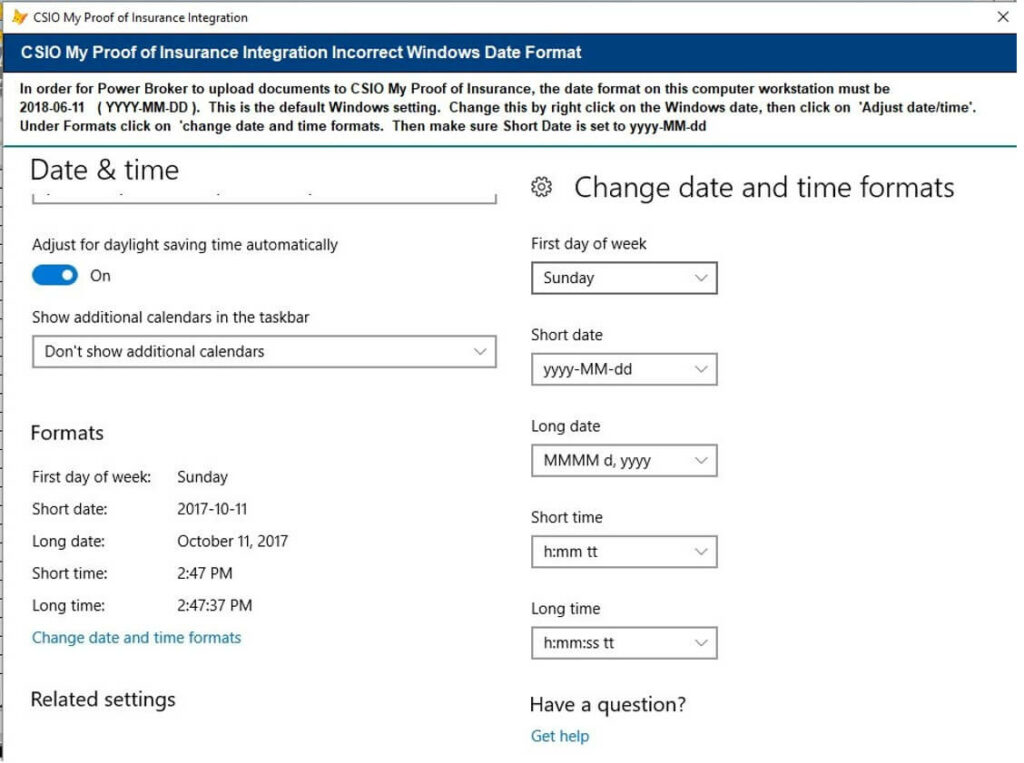
NOTE: Users must have their Windows 10 default date set to the Short Date format. If they have incorrect settings they will get the below warning message.